www.it-connect.fr

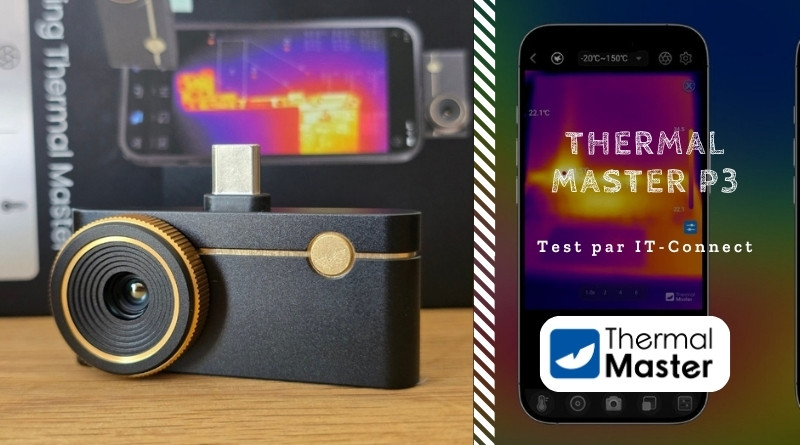
Thermal Master P3 Review: A Pocket Thermal Camera for Smartphones
The Thermal Master P3 is a miniature thermal camera that connects via USB-C and turns your smartphone into a diagnostic tool. Is it just a gimmick, or a truly effective thermal camera? Here’s my take.
Thermal cameras are useful in many fields, including IT, where temperature is often the first sign of a problem: an overheating component, a struggling power supply, a hot spot on a motherboard, and so on. The Thermal Master P3 targets this thermal diagnostics niche in a pocket-sized form factor.
Thermal Master P3 at a glance
The Thermal Master P3 is a compact thermal camera that connects via USB-C to an Android smartphone, an iPhone (using the included Lightning adapter or directly on USB-C models), or a Windows PC. It features a native 256 x 192 infrared sensor, enhanced to 512 x 384 through X³ IR processing, a manual focus ring, and a measurement range from -20 to 600 °C.
Its preferred use case: close-range diagnostics (electronics, hardware, networking, building inspection) rather than long-distance industrial inspection. Think of this camera as a tool designed to quickly identify a hot spot and pinpoint it precisely, without carrying a much bulkier (and more expensive) standalone thermal camera.
What is a thermal camera? A thermal camera translates infrared radiation emitted by objects into a color image, where each shade corresponds to a temperature. Unlike a classic infrared thermometer that measures a single point, it displays a full temperature map of a scene, making it possible to spot thermal anomalies.
Thermal Master P3 technical specifications
Here are the specifications announced by Thermal Master.
| Specification | Value |
|---|---|
| Native sensor resolution | 256 x 192 pixels |
| Processed resolution (X³ IR) | 512 x 384 pixels |
| Thermal sensitivity (NETD) | < 35 mK |
| Temperature range | -20 to 600 °C (-4 to 1112 °F) |
| Accuracy | ± 2 °C or ± 2% |
| Refresh rate | 25 Hz |
| Field of view | 40° x 30.2° |
| Lens | 8 mm macro, with manual focus ring |
| Digital zoom | Up to 15x |
| Connectivity | USB-C (Type-C to Lightning adapter included) |
| Power | Powered by the host device (about 0.32 W) |
| Compatibility | Android, iOS / iPadOS, Windows |
| Dimensions | 59 x 27 x 17.2 mm |
| Weight | About 26 g |
| Material | Aluminum alloy |
Unboxing and box contents
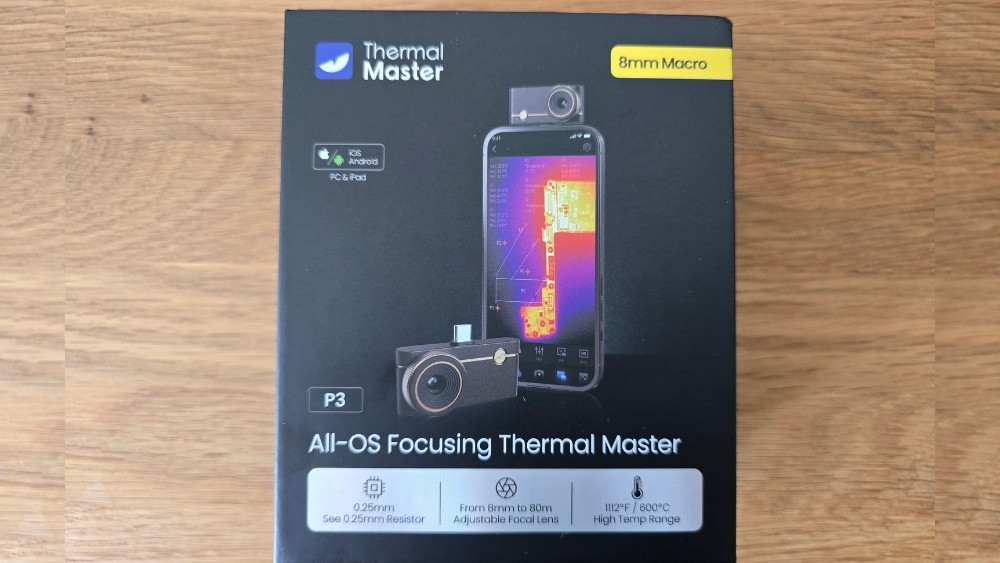
The packaging is polished, with a matte black box and artwork that gives you a preview of the camera, including when it is connected to a smartphone.
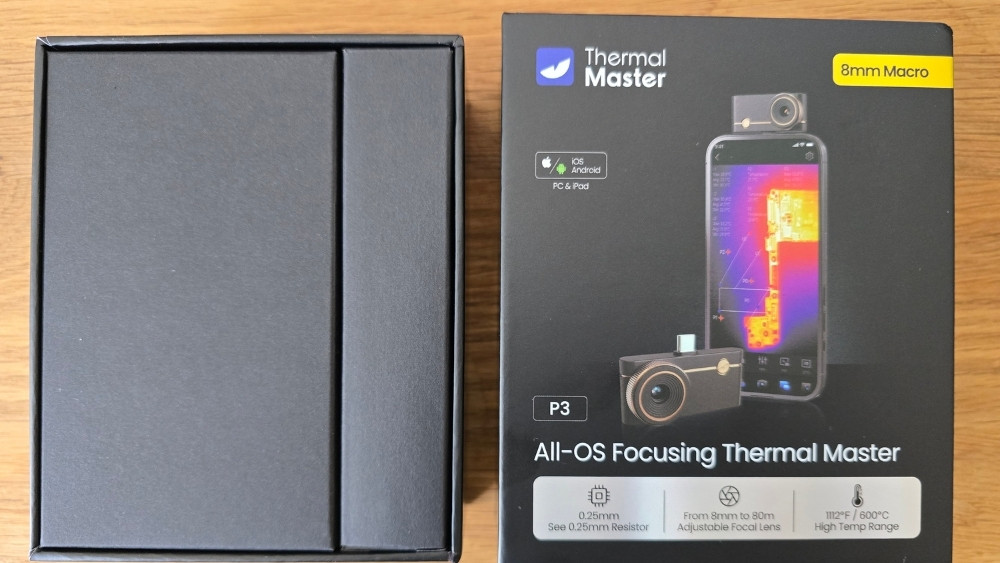
Inside, you get a complete bundle:
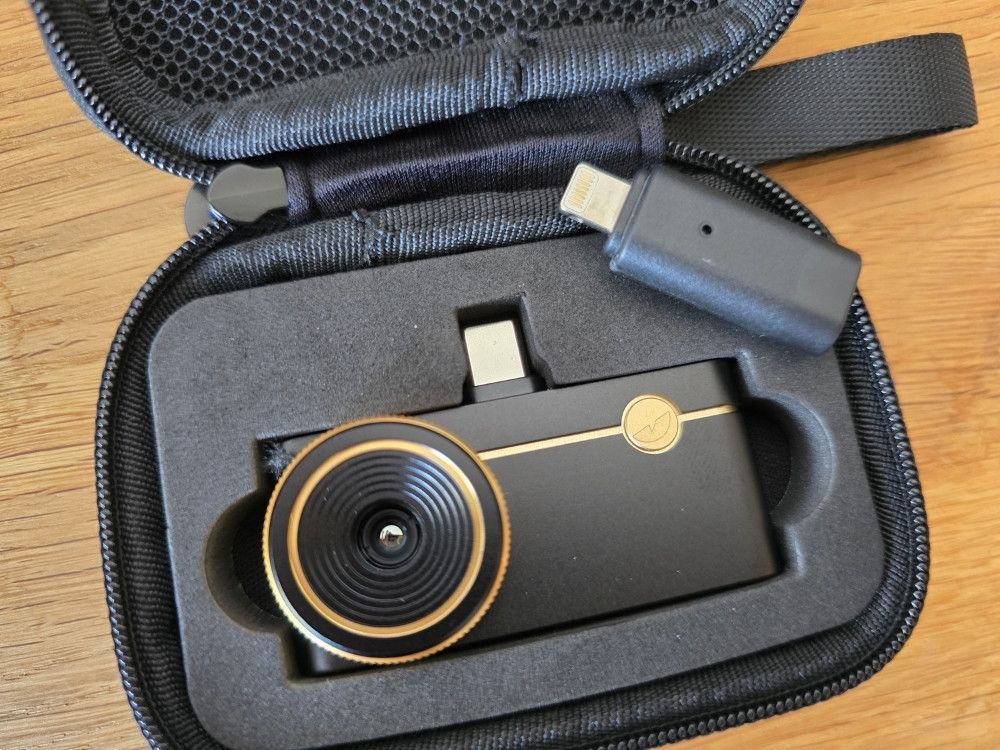
- The Thermal Master P3 thermal camera.
- A rigid carrying case with a zipper and wrist strap.
- A Type-C to Lightning adapter (for iPhones equipped with a Lightning port).
- A handy USB-C/USB-A extension cable for reaching hard-to-access places or for use on a PC.
- A quick start guide.
- A warranty card, with a QR code to extend the warranty to 3 years.
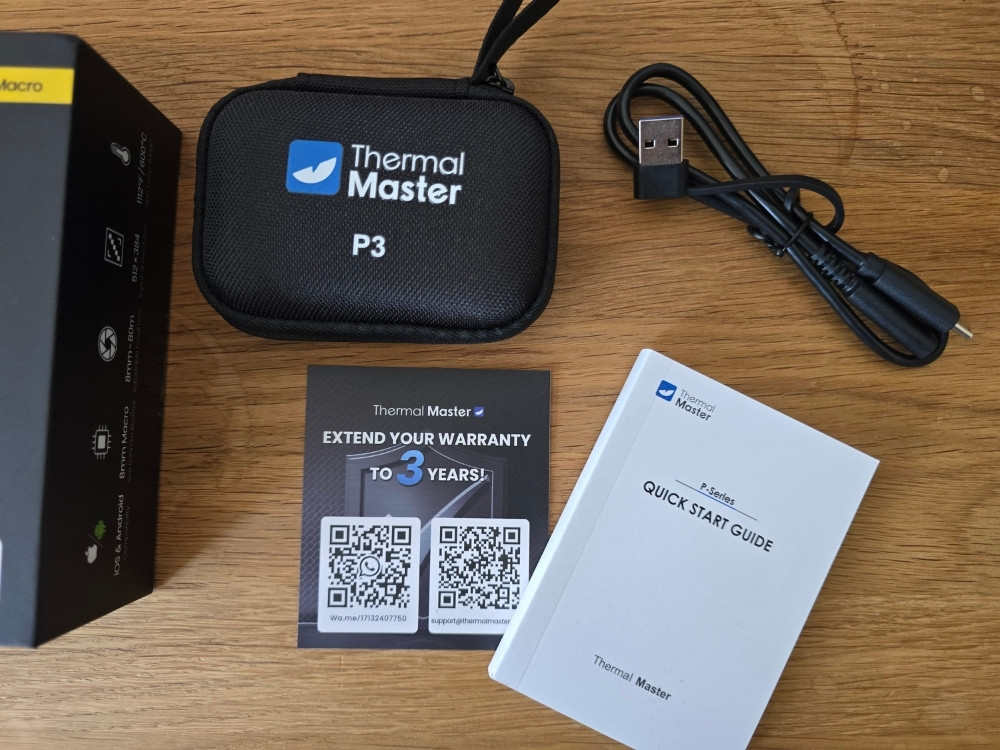
The case is well designed to slip in and protect the camera, but it is a bit tight if you also want to store the extension cable inside. It can be forced in, but that’s inconvenient. The essentials are there: the camera is very well protected in this case.
Design and handling
The P3 camera comes in the form of a USB dongle with a metal enclosure. The whole unit is black with a few gold accents, which looks clean overall.
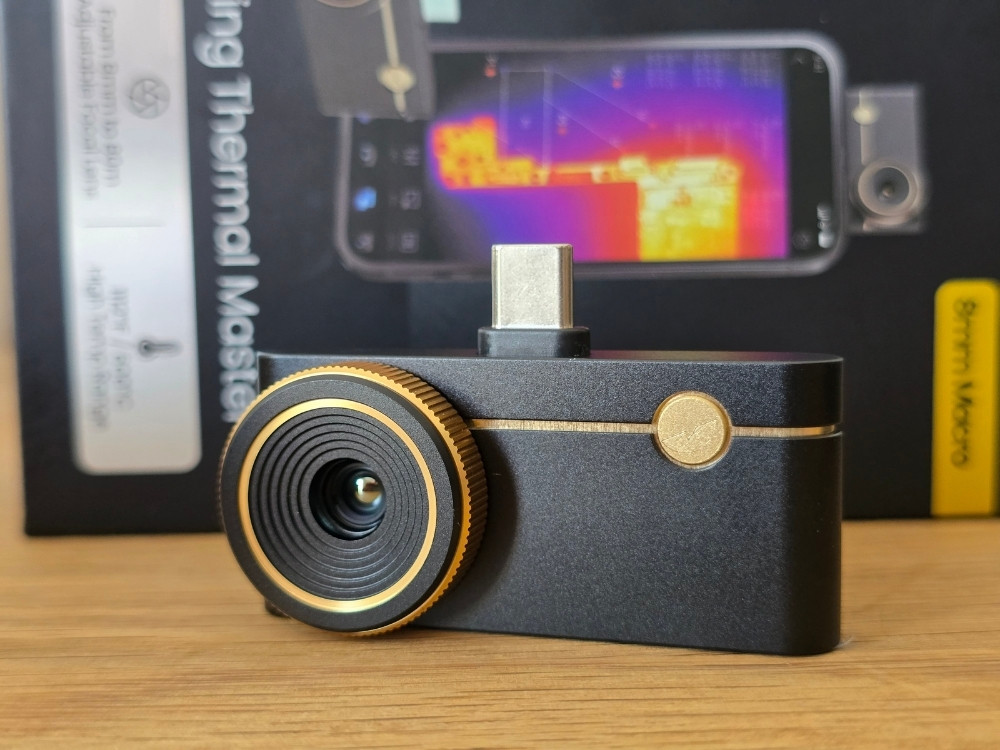
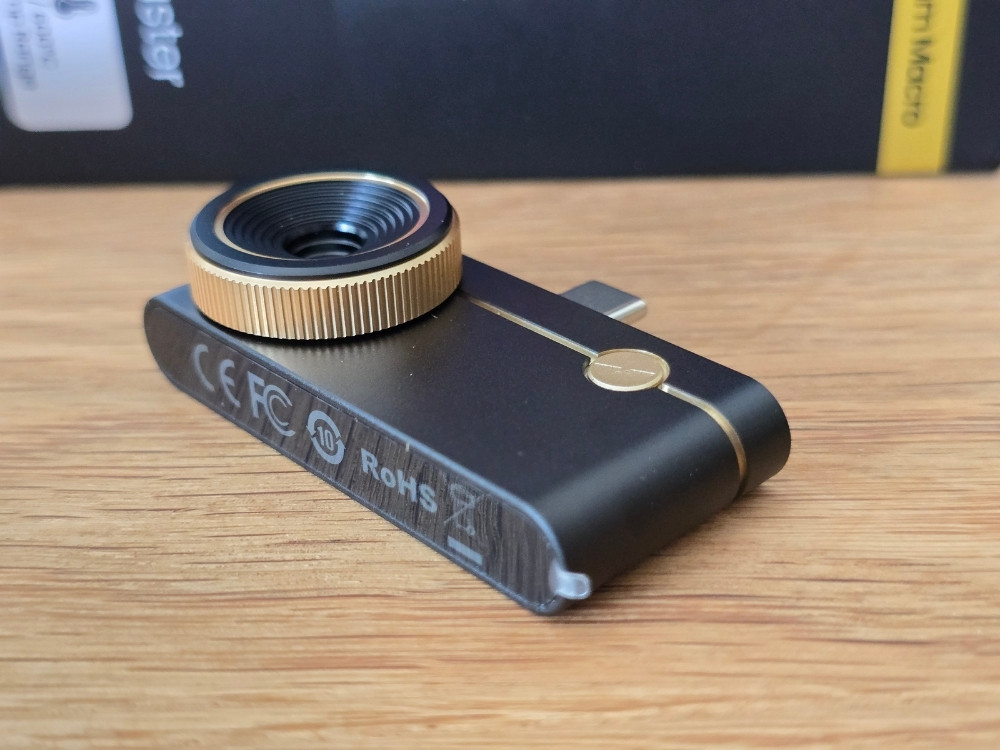
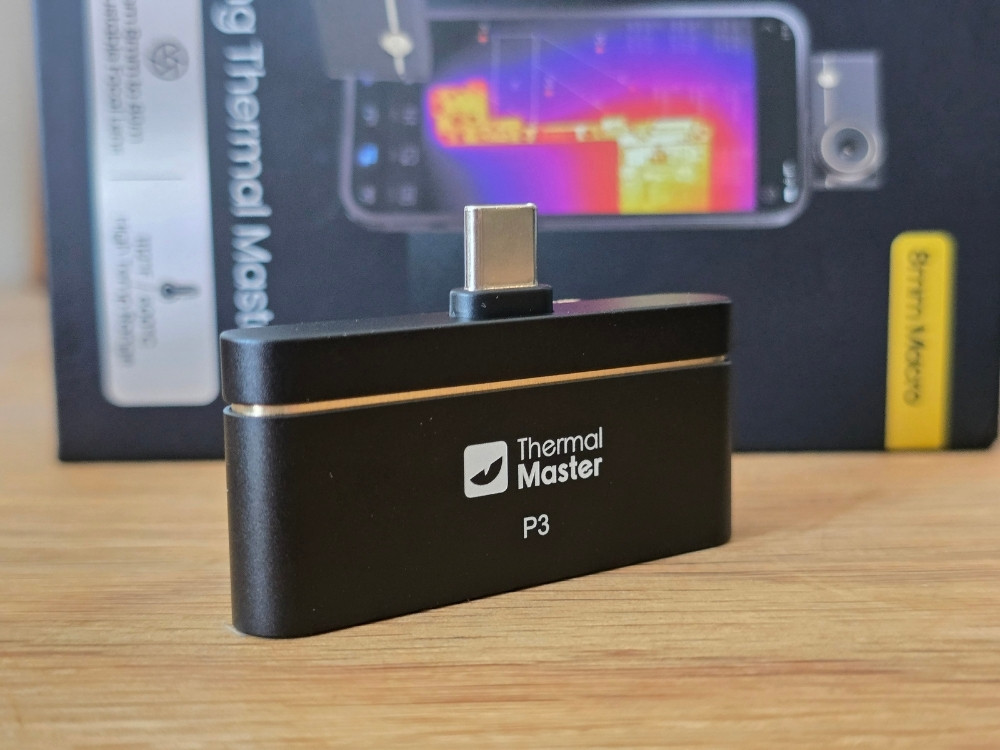
The camera includes a manual focus ring around the lens. Where other smartphone thermal cameras have a fixed focus, the P3 lets you target focus on a very specific area. Another very important point that is not necessarily obvious at first glance: the USB-C connector. It is slightly longer than usual, which means you can connect the camera without removing your smartphone case.
On the other hand... Isn’t something missing? A tripod mount, for example. So yes, even though the camera is primarily designed for smartphone use, that is still a shame. For extended use, it would be more comfortable, but if you have a tripod for your smartphone, you’re covered.
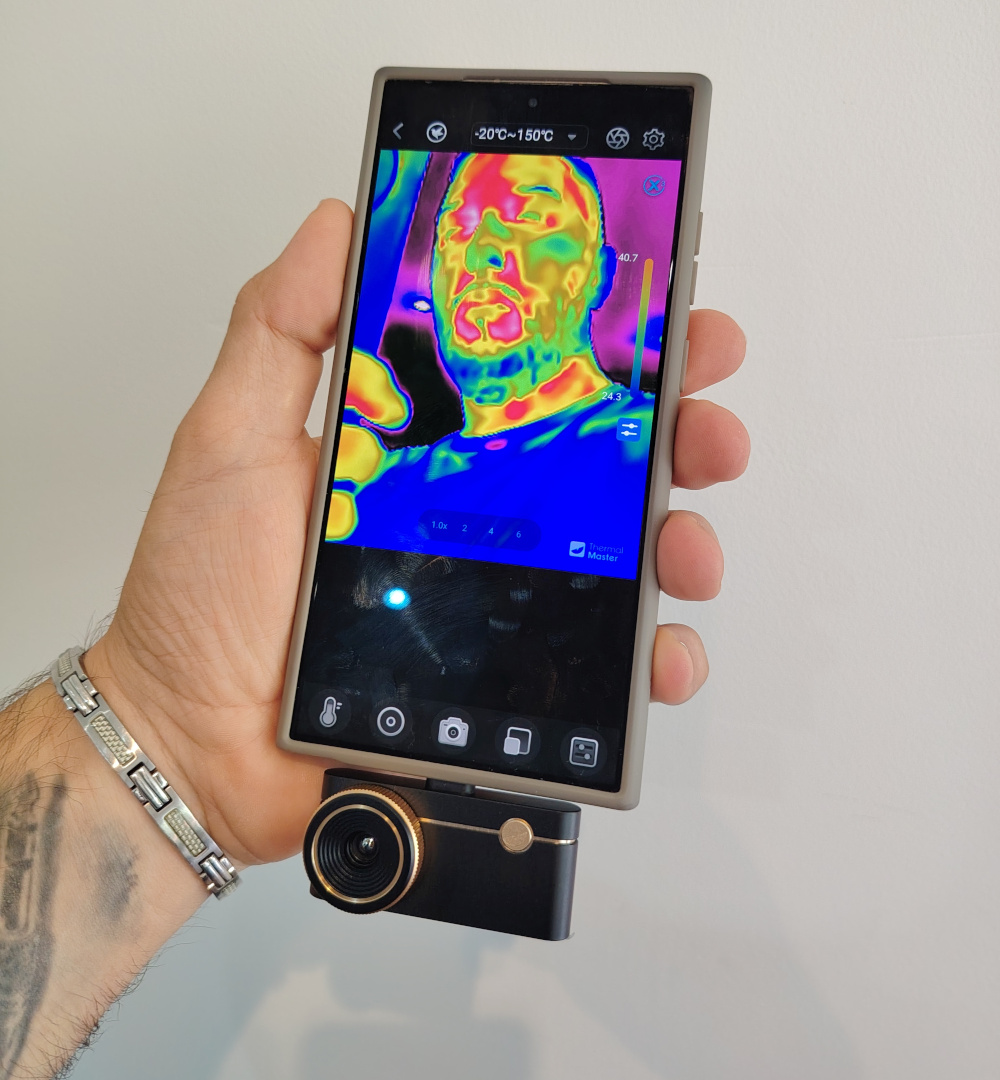
Getting started with the Thermal Master P3
The first step is to install the Thermal Master app on your smartphone so the camera can be recognized (there is also a PC app). Yes, there is a dedicated app, which makes sense. Once that is done, plug the camera into the phone’s USB-C port and the thermal image appears.
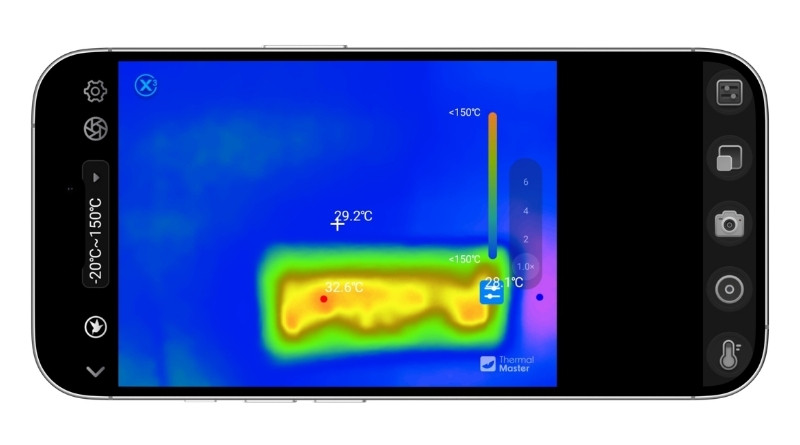
The app displays the thermal feed in real time, with the temperature at the center of the crosshair and the hot and cold spots in the scene.
Available functions include:
- Temperature range selection, available from a drop-down menu (for example, -20 to 150 °C), to adapt measurement dynamics to the observed scene.
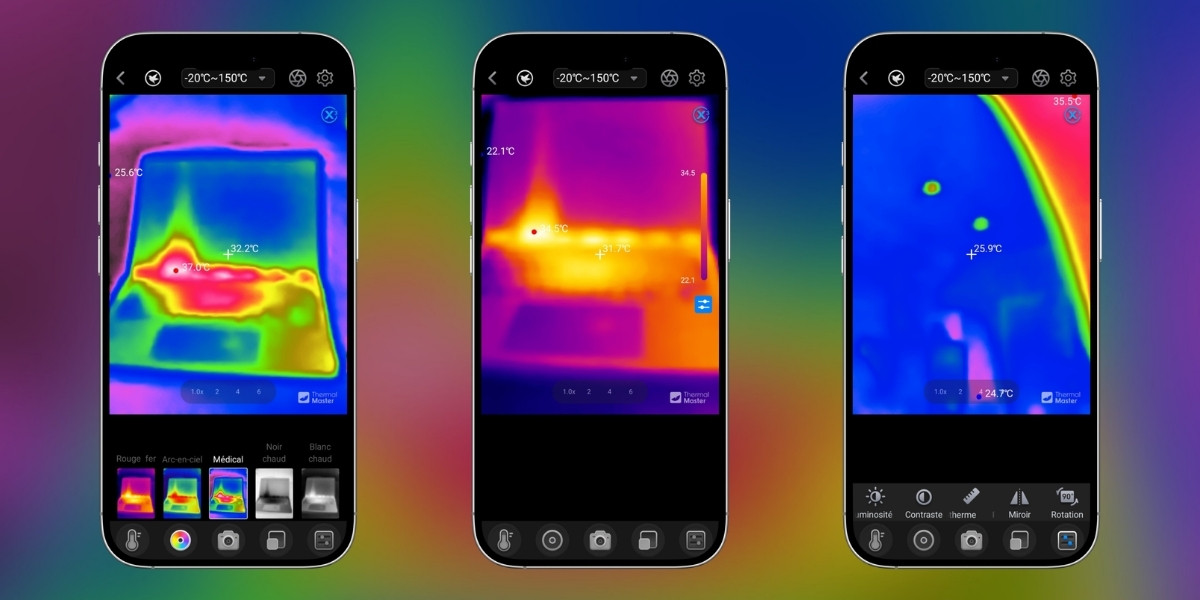
- Color palettes, with several rendering options (Iron Red, Rainbow, Medical, Hot Black, Hot White, etc.). Each palette highlights temperature differences in a different way.
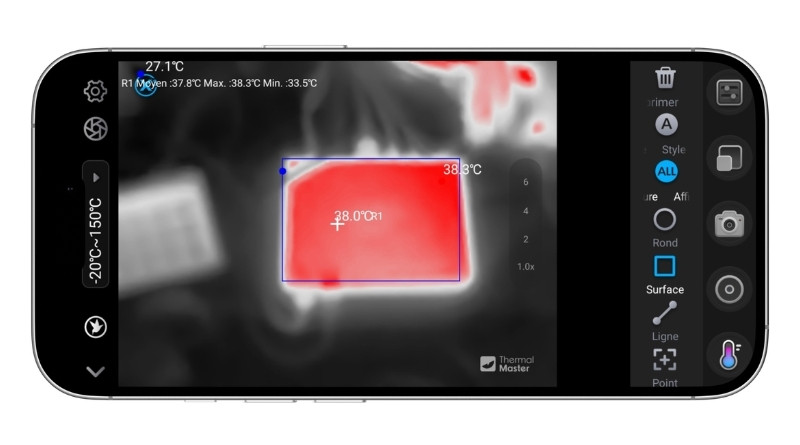
- Measurement modes for point, line, and area, with automatic tracking of the hottest and coldest points. You can draw on the screen what you want to measure.
- Filters to highlight only the elements whose temperature exceeds X°C.
- Digital zoom and X³ super-resolution mode.
- Image settings (brightness, contrast, isotherm, mirror, rotation) to fine-tune the output.
- Photo and video capture for thermal images.
When scanning a running laptop (example below), you can see the areas that heat up the most: the heatsink, the CPU area, and the air vents. In the images below, you can clearly identify a central area rising to around 37 °C, much warmer than the rest of the chassis.
If you are used to repairing computer hardware or smartphones, this thermal camera can genuinely help. I say that precisely because the focus can be adjusted using the ring around the lens. Remember what was stated in the table at the beginning of the article: focus can go down to 8 mm, which is especially useful with computer hardware.
The app also includes another handy feature: picture-in-picture overlay of your smartphone camera image. This helps you orient yourself, because thermal imaging is great, but it is not always easy to tell what you are looking at (even though you can use filters). This overlay can help, although you should keep one constraint in mind: there can be about 20 cm between your smartphone lens and the P3 camera lens.
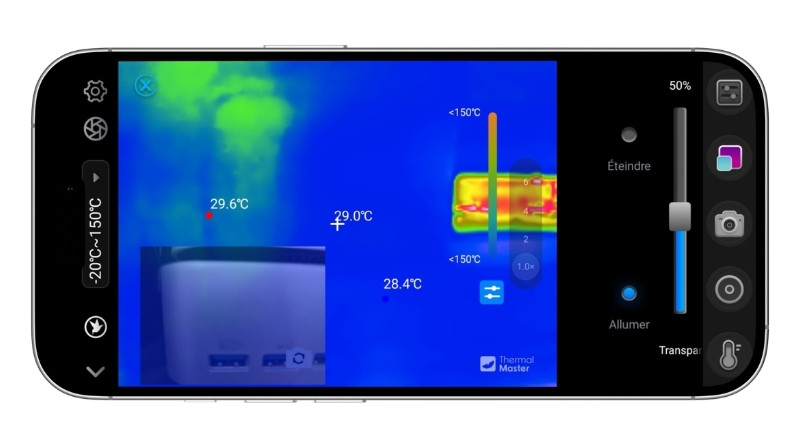
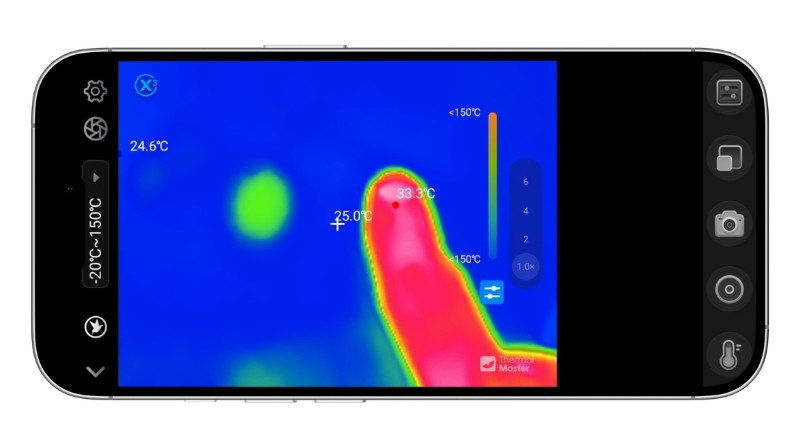
The camera performs precise analysis thanks to its very good thermal sensitivity. That means it can detect very small temperature differences, which leads to even more relevant and accurate results. There is a quick test you can do to verify this: a thermal imprint left by a finger, for example. The circle visible in the image below corresponds to the thermal imprint of my finger on a table, while it is visible next to it. This camera’s sensitivity makes it possible to capture that kind of detail.
Other scenarios also suit this device well, beyond laptop use:
- Diagnosing a circuit board or component (PCB inspection). Thanks to the macro lens and focus ring, you can isolate a specific component (regulator, chip, capacitor) to check its operating temperature or spot an element that is heating abnormally, which is often a sign of a fault. This is what can really set the P3 apart from other compact cameras.
- Checking a power supply, charger, or wall adapter.
- Monitoring IT equipment: a server, your Homelab, and so on.
- Inspecting an electrical panel.
- Diagnosing insulation in a home. You can scan walls, ceilings, and joinery, and try to identify thermal bridges and heat loss. It is more of a consumer use case that does not replace the advice of an expert, but it is interesting to do if you have this camera.
What is PCB inspection? PCB stands for Printed Circuit Board, in other words the board on which the components of an electronic device are soldered: motherboard, power supply, network card, and so on. PCB inspection consists of examining that board to locate a fault. A thermal camera brings real value here, because a defective component is almost always identified by abnormal heating long before it is visible to the naked eye. The manufacturer also claims detection of current leakage as low as 1 mA and the ability to read components as small as a 0.25 mm resistor. That is why this model includes the 8 mm macro lens and the focus ring.
Conclusion
The Thermal Master P3 delivers on its promise: quality thermal imaging in a pocket-sized format, at a much lower price than standalone thermal cameras. Image quality is satisfactory and the camera itself is well built: neat construction, aluminum body, and a small case for storage. You also will not need to recharge it, since it is powered directly by the smartphone.
Its manual focus ring sets this model apart from other smartphone thermal cameras. It is what makes it possible to inspect small components, so it can be used in scenarios where precision matters. And at the same time, it is also suitable for larger-scale work: real versatility!
Not everything is perfect, though. The lack of native macOS and Linux support is worth noting, since it is limited to Windows (and the desktop app is less complete than the mobile one). But honestly, this camera is better suited for smartphone use. In my opinion, the main drawback is the lack of a tripod mount.
The P3 will therefore not replace a high-end thermal camera, but in its category it offers a very good balance of features, build quality, and versatility. Price: €299.99. Use promo code "THERMALBF10" to get an immediate 10% discount, which means €30 off the bill. This code is valid until September 21, 2026.
Thanks to Thermal Master for giving me the opportunity to test this product.